I’ve come to love the simplicity of my iPhone camera. Because I do not own a professional camera, all my photos are taken with my iPhone X and I’ve gotten fantastic results. At no extra cost to you, your phone is the most convenient way to take the best photos! By mastering a few simple skills, you can easily take your iPhone photos to the next level. Continue reading for my favorite tips to transform your iPhone photography.
Tip 1: Find the best lighting
Lighting can make or break your photos, so it’s important to understand how to find the best lighting. Pictures are the best with soft, natural light, and once you find the perfect lighting, your pictures will never be the same!
Optimize for the best time of day
The most desirable time of day to take photos is a few hours after sunrise and before sunset. Lighting during the day time is best on a cloudy day. For clear, and crisp images, you should avoid nighttime photos if possible. The below photos were taken in London on a cloudy day, at the Grand Canyon before sunset, and in Page, Arizona after sunrise!


Find a prime location
When searching for a good spot to snap a photo, look for an area that’s well-lit, but not in direct sunlight. When outside, it might be helpful to take a photo in the shade, or behind a tree to block out direct light that creates harsh shadows. If you are inside, facing a window makes for the best soft light.

Avoid using flash
Using artificial lighting does not lead to high-quality pictures. For example, I do not recommend using the flash for the best photos. Only use flash in extreme situations when natural lighting is insufficient.
Tip 2: Know your angles
Taking pictures at just the right angle can change the entire photo. It’s important to know your best angles and make sure your photographer knows them as well.
Maximize the scenery
When beginning to take a photo, consider the backdrop, instead of only focusing on the subject in the frame. Many photographers recommend learning the rule of thirds to capture the best angles. The shots below are a prime example of when the angle of the photo made a difference. In the first shot, you could not see the beautiful fish, but by taking the shot from above, the fish were clearly visible.


Face the light
During the day, the sun can be a source of amazing light or it can cause horrible shadows. If you are struggling to find the best angle in direct sunlight, I recommend tilting your face toward the sun to avoid unwelcome shadows. This one change can make a huge difference in your photos.


Move closer
As a photographer, it’s important to get up close and personal with the subject in the photo. Instead of zooming in, move closer to get a full resolution photo with the sharpest details. When you use the zoom function on your iPhone, you are decreasing the resolution quality of your photo. This tip was very useful in Bali when visiting the Monkey Sanctuary and wanting to capture the best portrait photos of these cute animals.


Tip 3: Don’t forget the built-in photo features
There are several features built into the iPhone camera that many people are unaware of. If you take the time to explore and master them, these small hacks can elevate your photography.
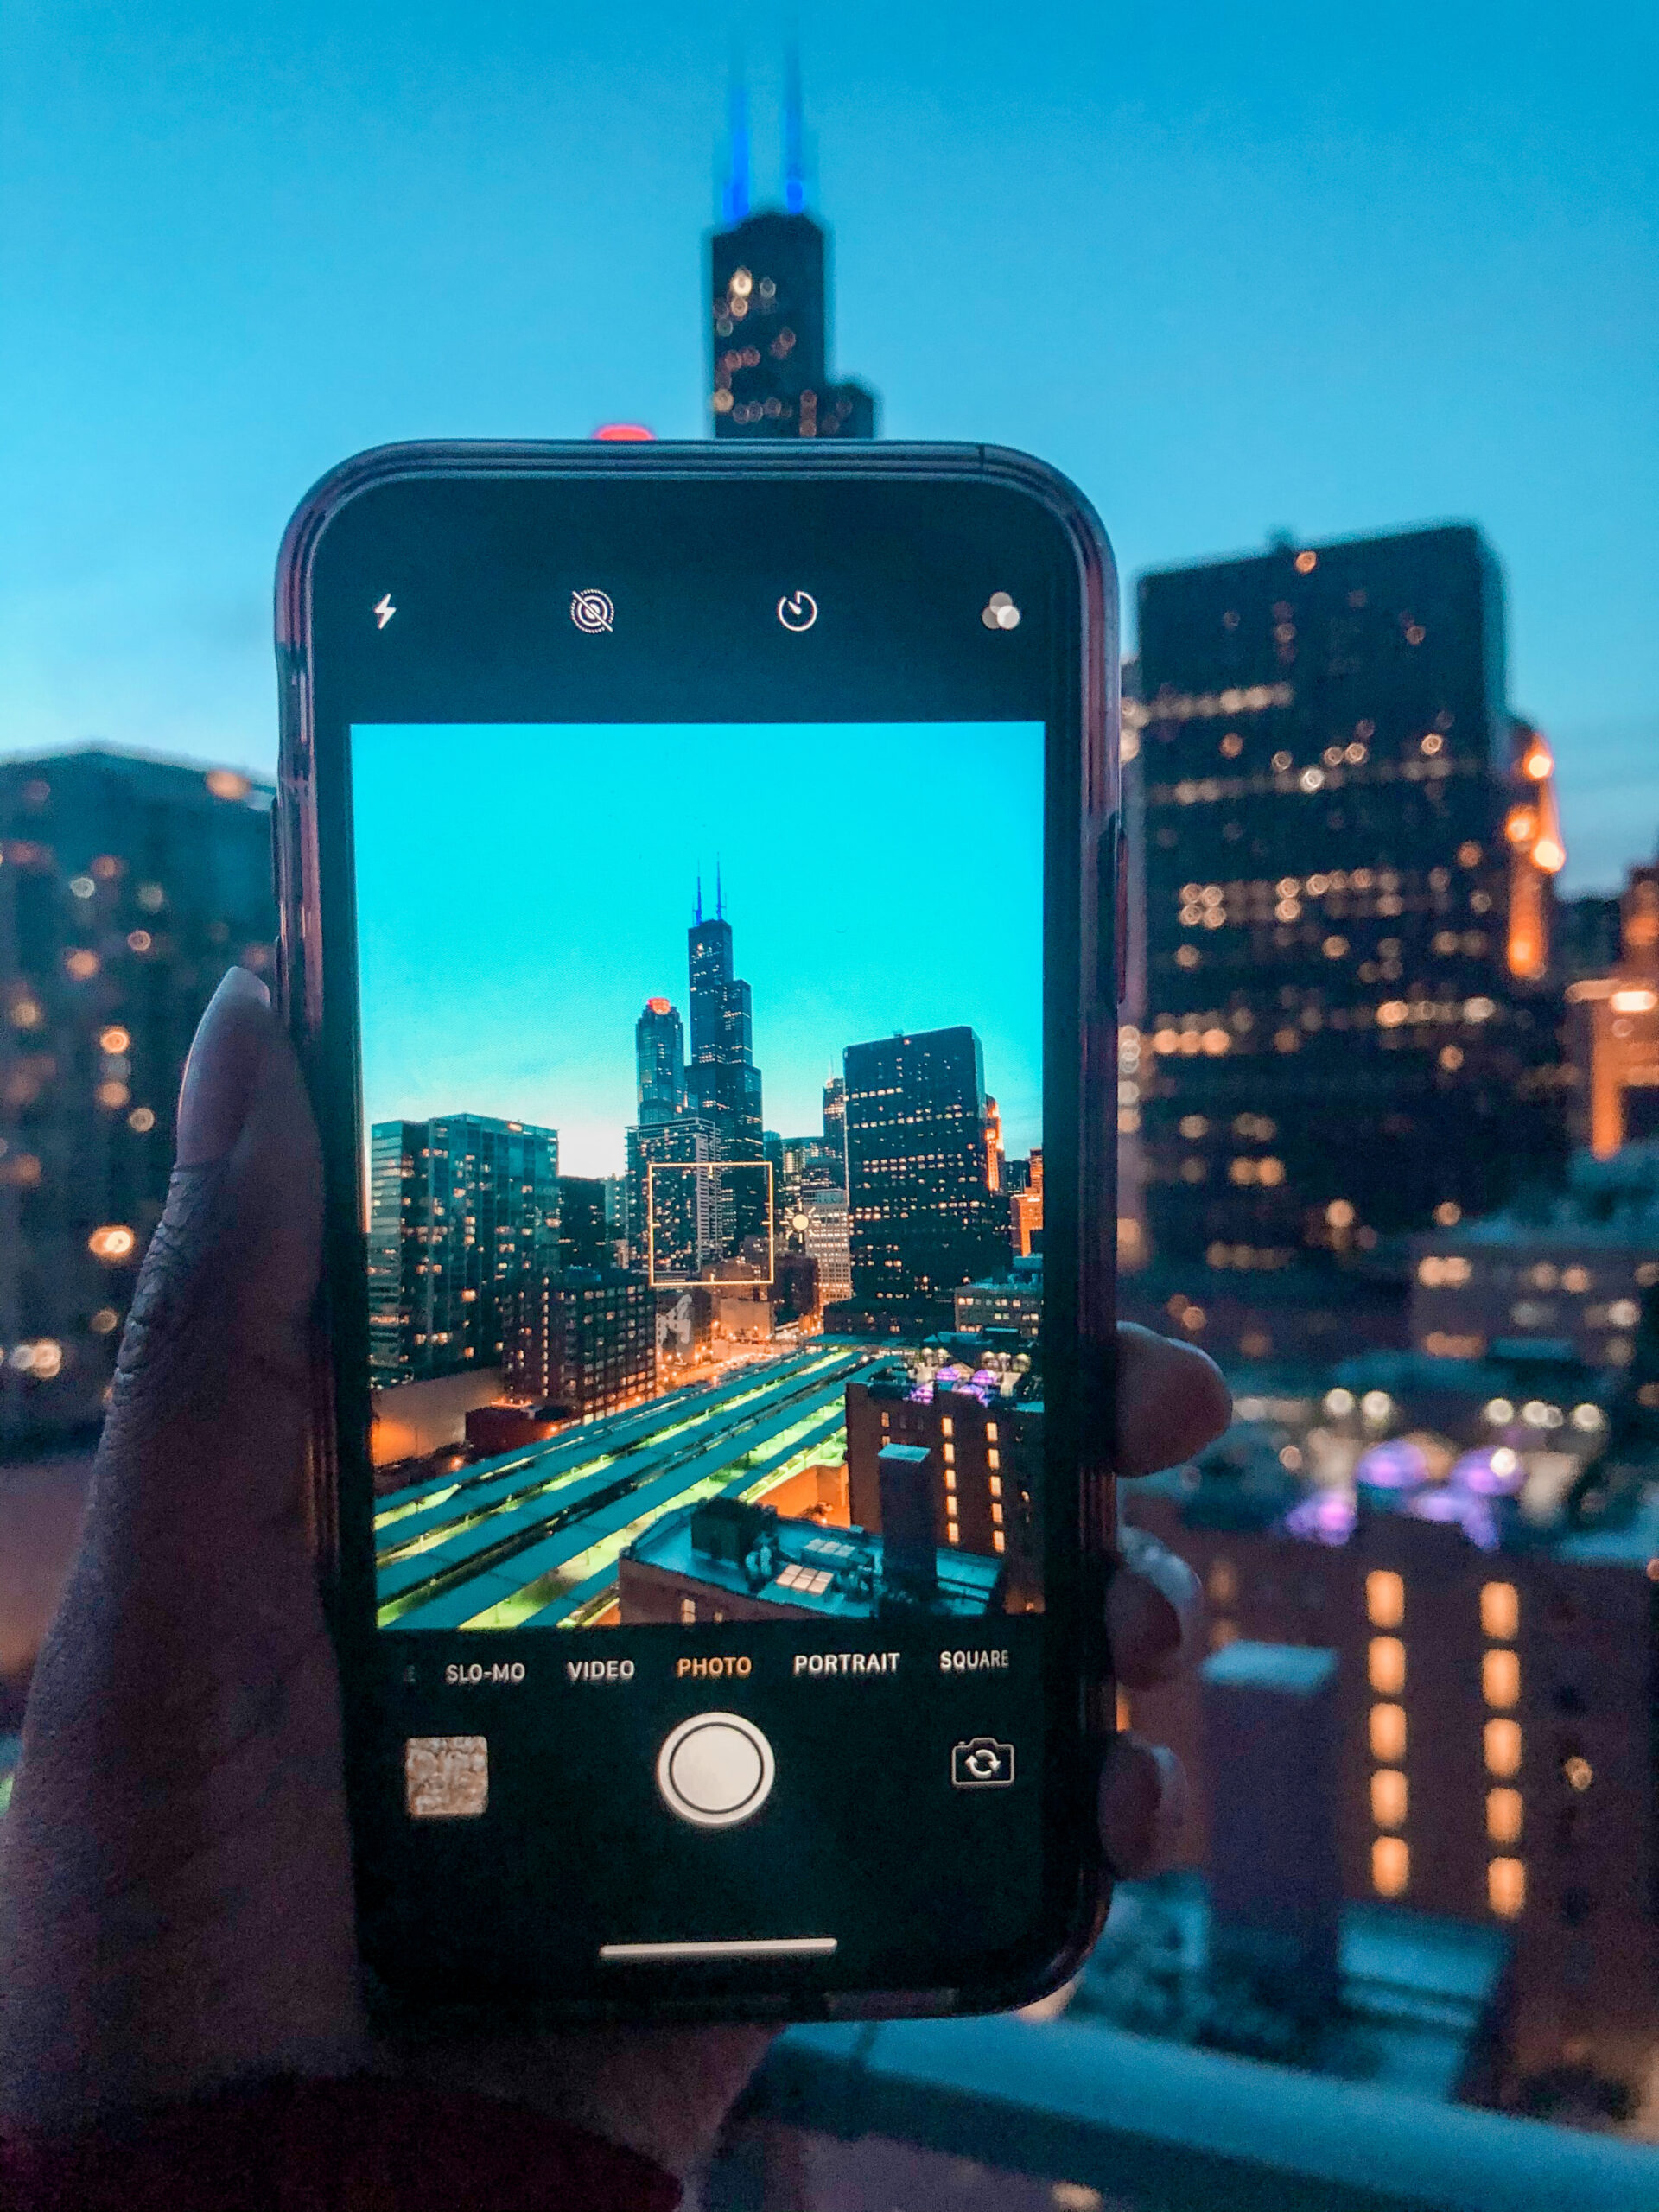
Tap to focus and hold to lock exposure
Your camera automatically adjusts the focus as you take photos. When you tap the screen, displaying a yellow box with a sun icon, you can manually set the focus and brighten your photos. Next, to keep this manual focus, you can hold down the yellow square for 3 seconds. You will see AE/AF Lock ( “auto exposure/ auto focus”) which means you locked the exposure and focus in place. This makes it extremely easy to take selfies without having to re-tap the screen to brighten.


Slide to adjust exposure
Your iPhone allows you to adjust photos after you take them, but for the best results, you should adjust the brightness or “exposure” as you are shooting. To adjust the exposure in areas that lack sufficient light, simply tap the screen to display the exposure slider. Then, slide the sun icon to manually adjust the exposure up and down as needed. This is truly a lifesaver and will brighten your photos in almost any environment.
Hold for burst mode
A familiar feature to many, burst mode will help you capture the best action shots. Simply hold done the shutter button and watch your iPhone rapidly take several shots within seconds. You will never miss that action shot again!

Try the panorama feature vertically
Most people are familiar with the pano feature when taking long horizontal photos, but many people don’t realize you can use it vertically as well. If you are standing in front of a tall backdrop and want to capture it all in your frame, here is how you do it. Simply hold your camera horizontally, toggle to the pano feature, and follow the directional arrow on the screen, moving your camera from low to high. Don’t forget to check the results because it might take a couple of tries.


Turn on auto-HDR
Turn on HDR Auto (High Dynamic Range) and your iPhone will automatically use HDR mode, when needed, to get the best results. After you enable auto HDR in your iPhone settings, you will see the yellow HDR icon appear when your phone is using this feature. While these photos have amazing quality, I would not recommend this feature if you are low on storage.
Use portrait mode
Portrait Mode, which was introduced with the iPhone 7 Plus, is my favorite feature of my iPhone. It uses the phone’s dual cameras to add depth to your photos. It simply blurs the background and makes your photos look super crisp. You can manually take off portrait mode for a specific photo in the “Edit” section of the photo, by tapping the yellow “Portrait” icon at the top.


Take a shot with the volume button
A very easy trick to snap the perfect photo is to use the volume button on your iPhone. You can also press the up or down buttons on Apple headphones to capture a photo.
Tip 4: Touch up photos with edits and filters
After you have taken the best photos, editing can give your photos a uniform look! Iphones have built-in editing features in the camera app that makes it seamless to edit your photos and truly makes your photos pop!
Use iPhone filters
iPhone has several pre-made filters that are accessible with 1 easy click. For beginners looking for a simple look, these filters are the best place to start. In the “Edit” section of each photo, click the 3 dots icon to add a filter. Vivid or Vivid Warm are my favorite iPhone filters!


Download Lightroom mobile app
If you are looking for a more customizable way to touch up your pictures, I highly recommend Adobe Lightroom. It is the simplest and easiest way to get a variety of edits all on your mobile phone without losing image quality. I created my own custom preset that I can quickly apply to all my photos to give them a more uniform appearance.
Other easy tips you might forget
- Wipe your front and back camera lens
- Take lots of photos for a variety
- Be creative and try different poses
- Be specific with your photographer
- Have fun!
Feel free to leave a comment with your “go to” iPhone photography tips!


